- Home >
- Web Help >
- SeekerWorks™ >
- Email/Labels/Merge - Mail Merge - Giving Units
Email/Labels/Merge - Mail Merge - Giving Units
The "Load Giving Units to the Mail Merge File" screen (shown below) appears when you click the (Mail Merge Giv Units) menu button.
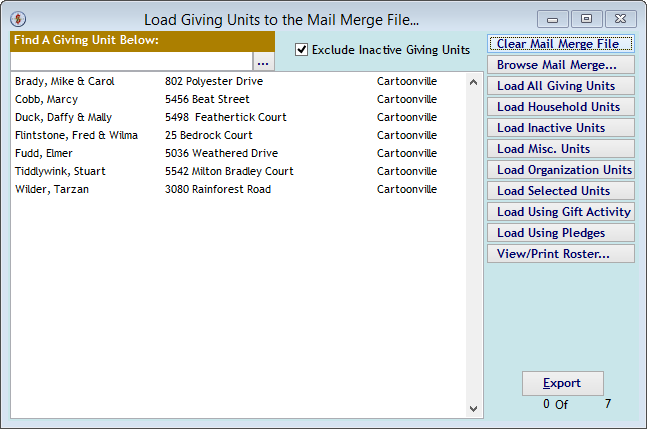
The "Load Giving Units to the Mail Merge File..." screen is used to load a list of Giving Unit names and addresses, depending on your selection criteria using the buttons along the right side of the screen. Since records may have already been loaded before you first enter the screen, you may wish to click the (Clear Mail Merge File) button first to avoid the warning shown below and start with an empty list.
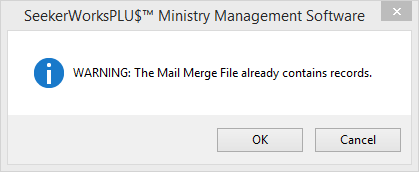
This warning appears when you click a button to load records and the Mail Merge File already contains records. Click the (Clear Mail Merge File) button on the previous screen to start with an empty list.
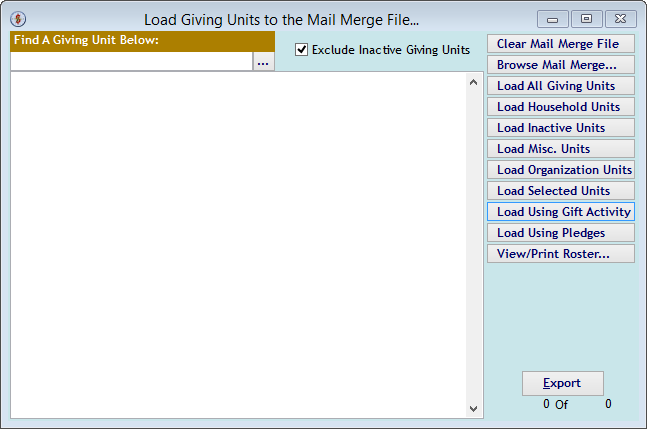
Each of the Load buttons will use the filter criteria check box at the top of the screen to load only those Giving Units you want to load.
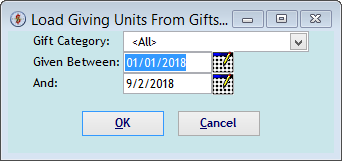
The "Load Giving Units From Gifts..." screen above, for example, loads all of the Giving Units who gave a gift per the selected Gift Category (Fund) between the dates indicated. Click the calendar icon to select a date, if desired.
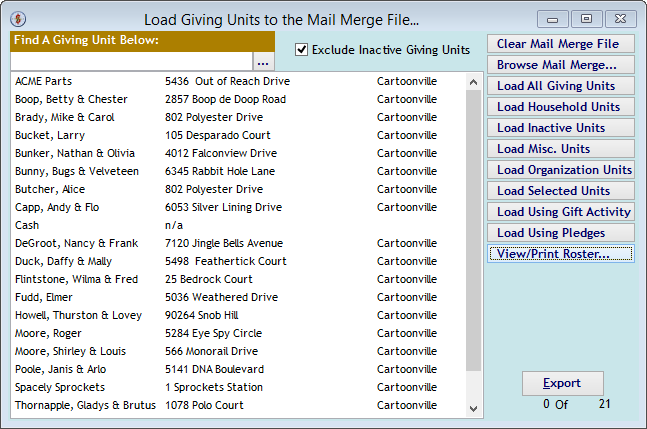
Once the Load is completed, the "Load Giving Units to the Mail Merge File..." screen reappears, showing you the names loaded. View or print a roster showing the Giving Unit names in the list to keep a record of which names were included in the set using the (View/Print Roster...) button. Or, download the labels to your computer using the (Export) button.
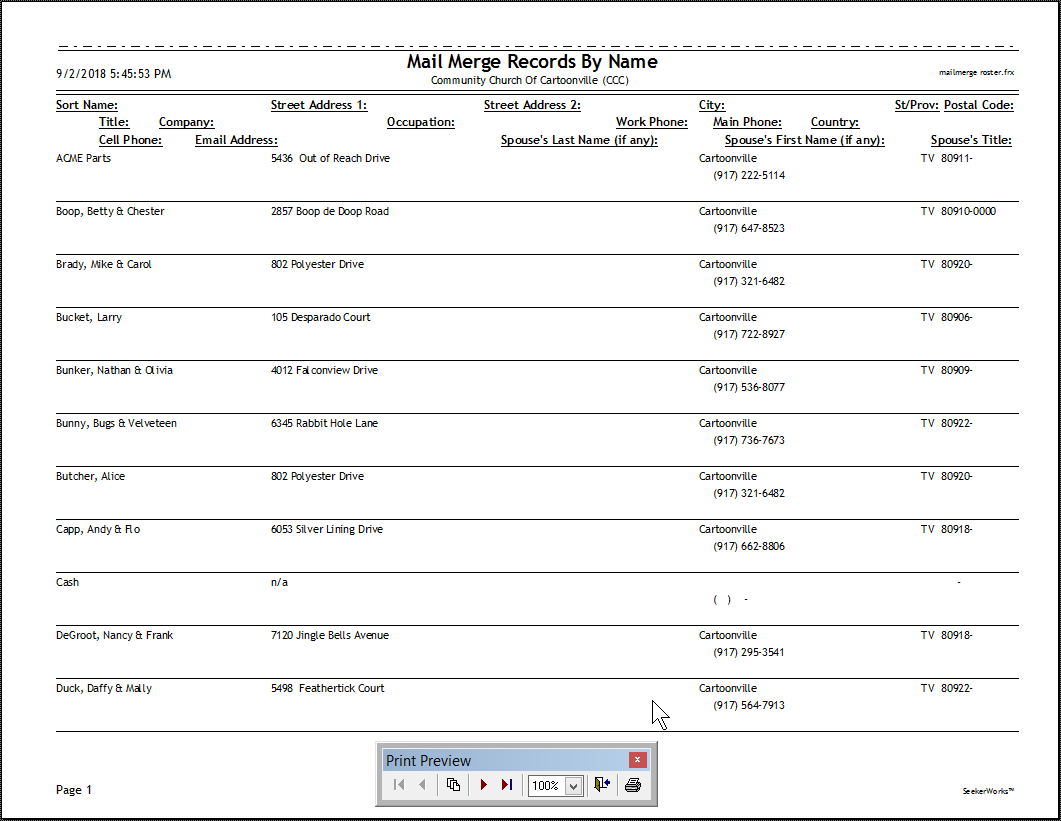
When you click the (View/Print Roster...) button on the "Load Giving Units to the Mail Merge File..." screen, the roster report appears, as shown above.

When you click the (Browse Mail Merge...) button on the "Load Giving Units to the Mail Merge File..." screen, the "Browse Mail Merge By Giving Unit Name" window appears. Note that you can modify any of the records shown in the Browse window, so be careful if that's not what you intend to do.
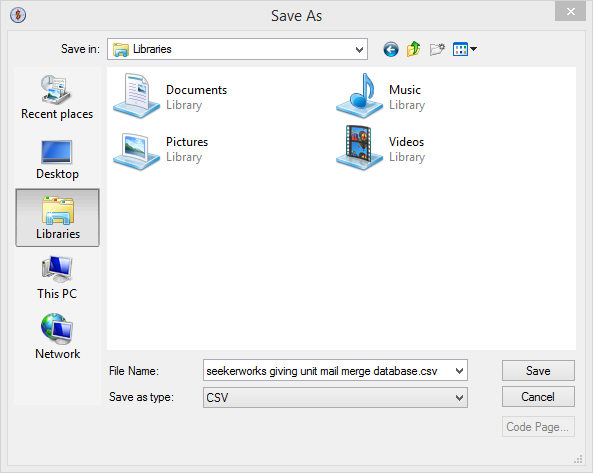
When you click the (Export) button on the "Load Giving Units to the Mail Merge File..." screen shown above, the "Save As" dialog window appears, asking you where you want to save the file. Select the location and change the name of the file, if desired, and click (Save) to save the file.
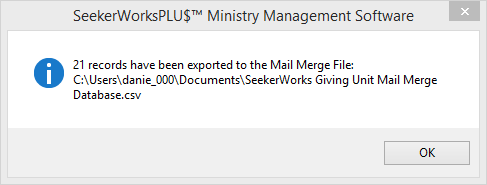
After you click (Save), you should see a message box giving you feedback on how many records were exported and the name and location of the file.
Right side navigation links:
More Screens:
People:
Gifts/Pledges:
My Info/General Info:
Email/Labels/Merge:
Mail Merge - Giving Units